怎么样在PS中使用仿制图章通道工具抠出透明婚纱?
怎么样在PS中使用仿制图章通道工具抠出透明婚纱?
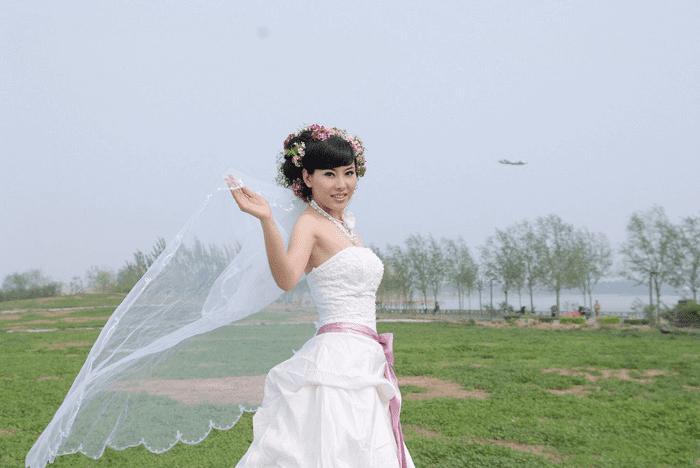
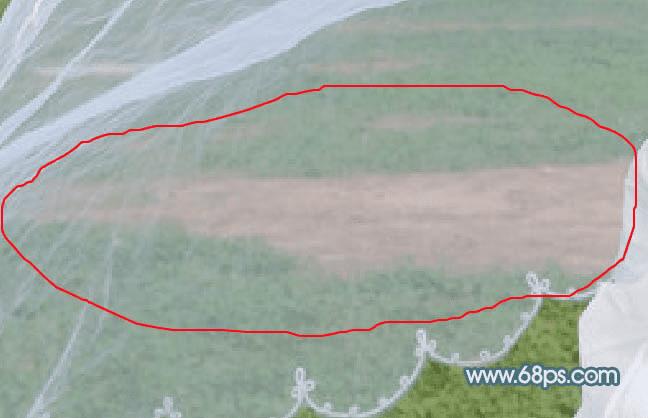
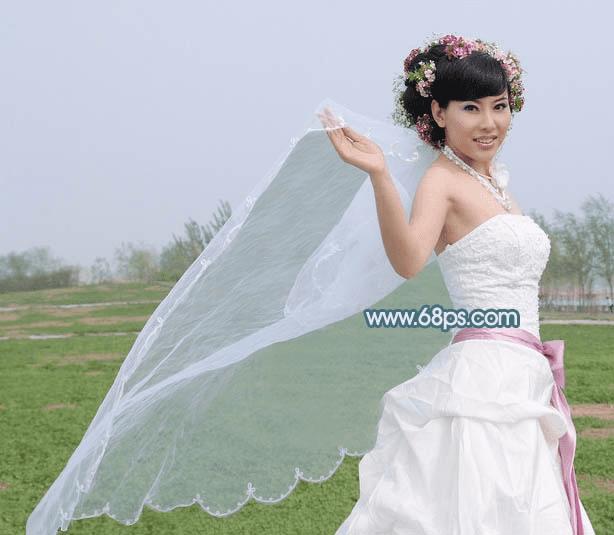
抠图的方法不多,不过在碰到难抠的图片时,要多去思考,把复杂的问题简单化,不管用什么工具,只要抠出的效果自然,细腻即可。原图
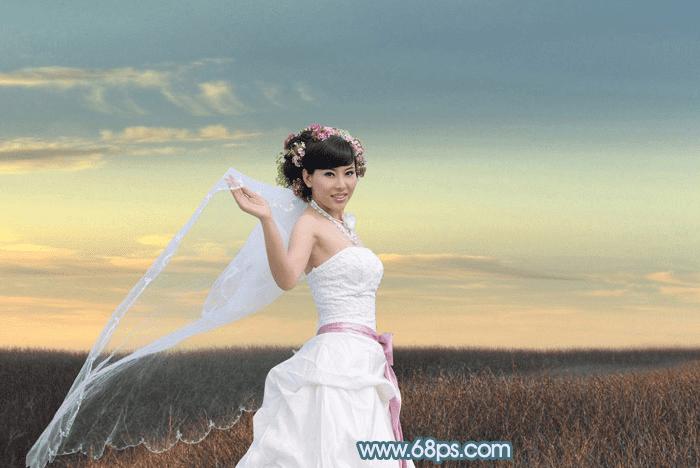
最终效果

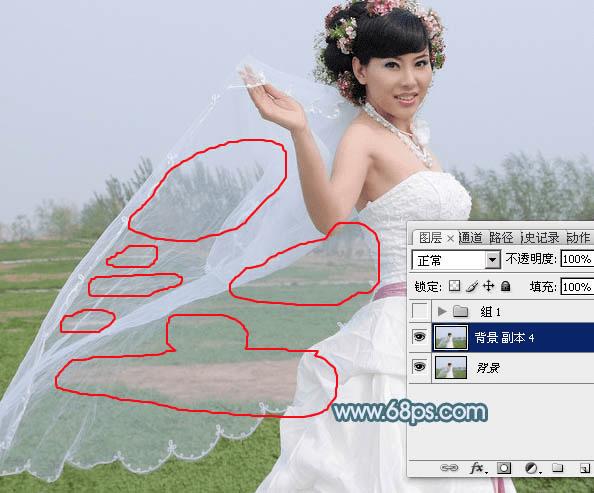
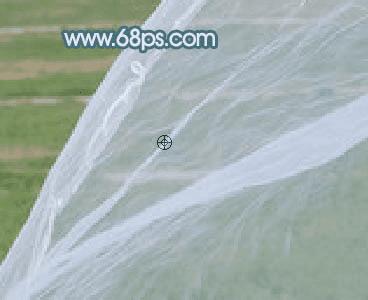
1、打开原图素材大图,抠图之前我们分析一下婚纱部分:由于草地部分的草分布不均匀,婚纱的背景中很多地方没有长草,非常杂乱;婚纱顶部区域树林也比较杂乱,给抠图造成很大的影响。
解决办法:透明物体用通道抠图效果是最好的,不过碰到这么复杂的背景,我们就得想办法去简化---用仿真图章工具先把复杂的背景变简单,这样后期通道抠图就会得心应手。
<图1>
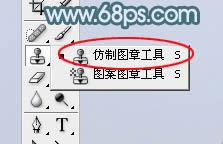
2、按Ctrl + J 把背景图层复制一层,在工具栏选择“仿制图章工具”,如图2;然后在属性栏把不透明度设置为:80%,流量设置为:100%,其它设置如图3。
<图2>

<图3>
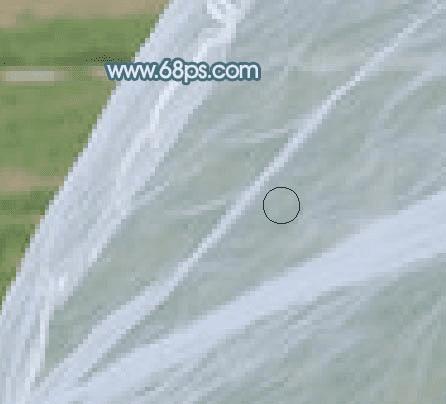
3、先来去掉底部最大的一块,如下图。
<图4>
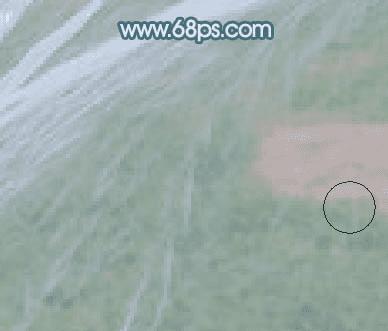
4、把婚纱底部区域放大一点,按住Alt键在好的婚纱部分取样,松开Alt键后,由左至右慢慢修复。需要边取样边修复,并随时调整笔刷的大校
<图5>
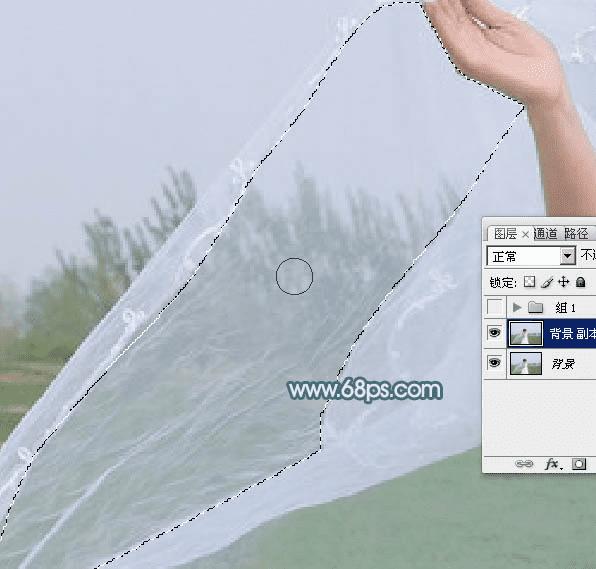
5、用钢笔工具勾出下图所示的轮廓,并转为选区。这样就可以限制仿制图章工具涂抹的时候,避免影响其它部分。
<图6>
6、这一块区域基本修复好了,取消选区,基本还算满意。
<图7>
7、细致活,不能急。上面这一块难度要大一点,最起码褶皱部分密集一点。同样用仿制图章工具,这次在属性栏把不透明度设置:100%;按住Alt键在明显的褶皱上取样,松开Alt键后沿着褶皱的走向点一下,再左右移动修复关键部分,保持褶皱的一致性,如图8,9。
<图8>
<图9>
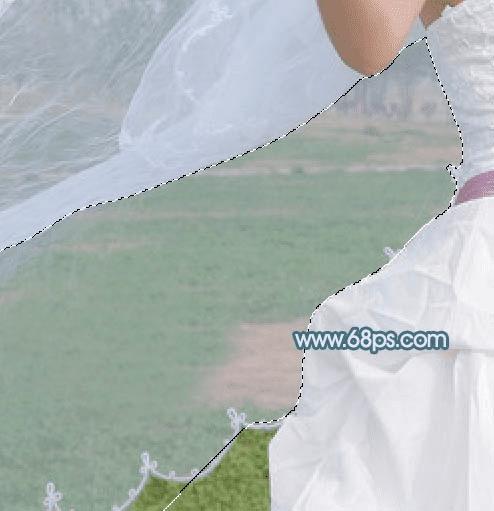
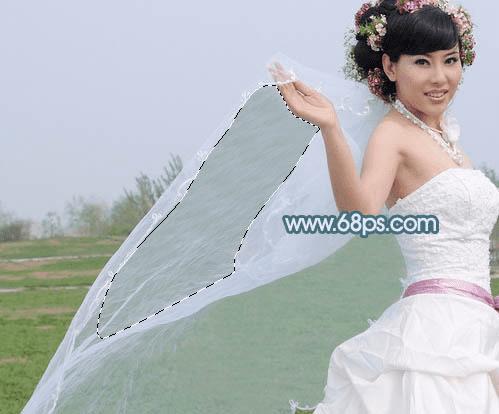
8、这一块区域也需要用钢笔勾出选区。
<图10>
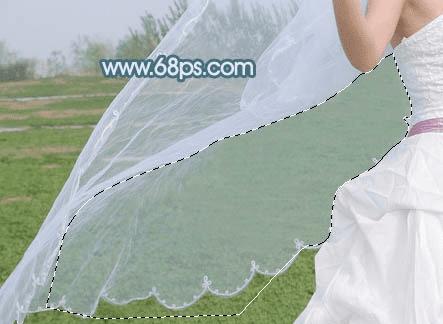
9、慢慢填补,大致效果如下,取消选区,大致的简化工具基本结束,后面就是通道抠图。
<图11>
10、这是现在的效果,感觉有不满意的部分,还可以花时间修复一下。
<图12>
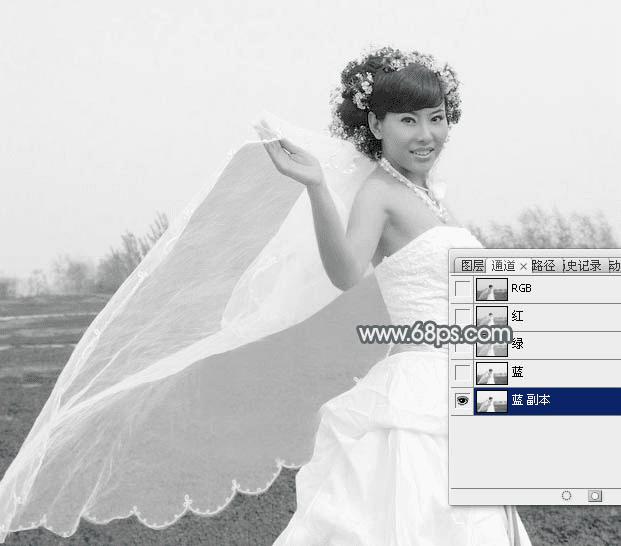
11、进入通道面板,选择一款婚纱与背景对比最大的通道,并复制一份。这里蓝色通道比较理想,复制后得到蓝副本通道,如下图。
<图13>
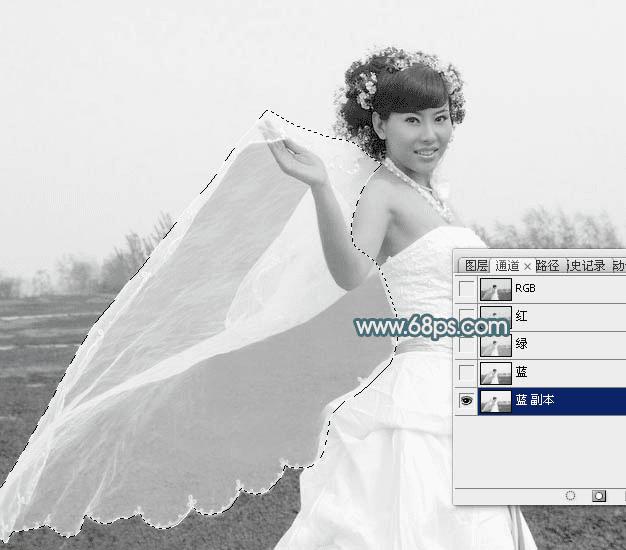
12、我们只需要婚纱部分,用钢笔工具把婚纱部分抠出来,转为选区如下图。
<图14>